AI Photo Editing for Dating Apps: What Looks Fake in 2026
Short answer: AI photo editing for dating apps works when it makes a real photo clearer, warmer, and easier to trust. It fails when it changes your face, removes all texture, creates impossible lighting, or makes the photo look too perfect.
In 2026, the best dating app photo edits are subtle: crop, exposure, color balance, background cleanup, and small realism fixes. Heavy retouching can make a real photo look AI-generated and can make an AI photo easier to flag.
Before editing every image, run the photo through the free Realness Score Analyzer. If the bigger issue is your full profile, use the free dating profile optimizer to check photo order and bio fit first.
Key Takeaways
- Subtle editing wins: crop, exposure, color balance, and background cleanup are safer than face reshaping or heavy skin smoothing.
- Dating app photos need trust: the photo should look current, recognizable, and possible in real life.
- Heavy edits can backfire: plastic skin, impossible shadows, and over-sharpening make photos look fake.
- Check before uploading: use a Realness Score check after editing, not only before.
- Sometimes the fix is new photos: editing cannot rescue a bad angle, misleading photo, or weak profile story.
Why AI Photo Editing for Dating Apps Matters
AI photo generators have changed dating profiles, but they're not perfect. Even high-quality AI photos often need refinement to truly stand out. The difference between a good photo and a great one often comes down to subtle enhancements – the kind that lift your profile without screaming "edited."
Think about it: professional photographers don't just shoot and upload. They adjust lighting, refine colors, and perfect composition. The same applies to AI photos. Strategic editing can:
- Fix AI generation artifacts – Smooth out minor inconsistencies in skin texture, lighting, or background details
- Optimize for mobile viewing – Adjust contrast and sharpness so photos look crisp on smartphone screens
- Enhance natural features – Bring out your best characteristics without crossing into fake territory
- Match platform aesthetics – Adapt photos to look natural within each dating app's visual style
But here's where it gets tricky: dating apps are getting smarter about detecting edited photos. Over-processing can trigger the same red flags as obviously AI-generated content. The challenge is understanding which edits enhance authenticity and which destroy it.
A recent analysis of 1,000+ dating profiles showed that strategically edited AI photos received 34% more matches than unedited ones – but heavily retouched photos performed 52% worse than originals. The sweet spot exists, and finding it is what separates profiles that work from those that flop.
What Can AI Photo Editing Actually Fix?

Not all photo issues are created equal. Understanding what editing can and can't fix saves time and prevents disappointment. Here's a breakdown of the realistic possibilities.
Fixable Issues (High Success Rate)
Lighting and Color Balance – This is where editing shines. AI generators sometimes produce photos with inconsistent lighting or color casts. Professional editing can:
- Balance warm and cool tones for natural skin appearance
- Adjust exposure in shadowed areas without losing highlights
- Increase color depth without oversaturation
- Correct color temperature to match natural daylight
Background Refinement – Minor background distractions are easy wins:
- Remove small objects or blemishes in backgrounds
- Blur slightly busy backgrounds for better subject focus
- Adjust background brightness to make you pop
- Clean up edge artifacts around your figure
Contrast and Sharpness – These technical adjustments make photos look more professional:
- Increase micro-contrast for definition without harshness
- Sharpen facial features subtly (eyes, smile)
- Reduce digital noise in darker areas
- Enhance texture detail in clothing and accessories
Challenging Issues (Proceed with Caution)
Facial Feature Adjustments – Possible but risky. Heavy facial editing often triggers detection:
- Minor blemish removal: Usually safe
- Teeth whitening: Acceptable if subtle
- Eye enhancement: High risk of looking unnatural
- Facial structure changes: Almost always fails detection
Body Modifications – Generally not recommended. AI detection systems are trained to spot these:
- Posture adjustments: Possible for minor corrections only
- Body proportions: High failure rate, looks obviously edited
- Clothing fixes: Sometimes works for small wardrobe malfunctions
Unfixable Issues (Start Over)
Some problems indicate the original AI generation failed. No amount of editing will save:
- Uncanny valley faces – If the facial structure looks fundamentally wrong, regenerate
- Anatomical impossibilities – Weird hand positions, incorrect proportions, unnatural angles
- Inconsistent art styles – When different parts of the image have different rendering qualities
- Multiple faces or merged features – Common AI generation errors that editing can't fix
- Nonsensical backgrounds – If the background defies physics or logic, start fresh
The golden rule: if you're spending more than 10 minutes trying to fix an AI photo, it's faster to generate a better one. Quality starts with generation, not editing.
Check Your Photos Before Editing
Use our free AI Realness Score Analyzer to see if your current photos even need editing – or if they're already optimized.
Free analysis • Instant results • No signup required
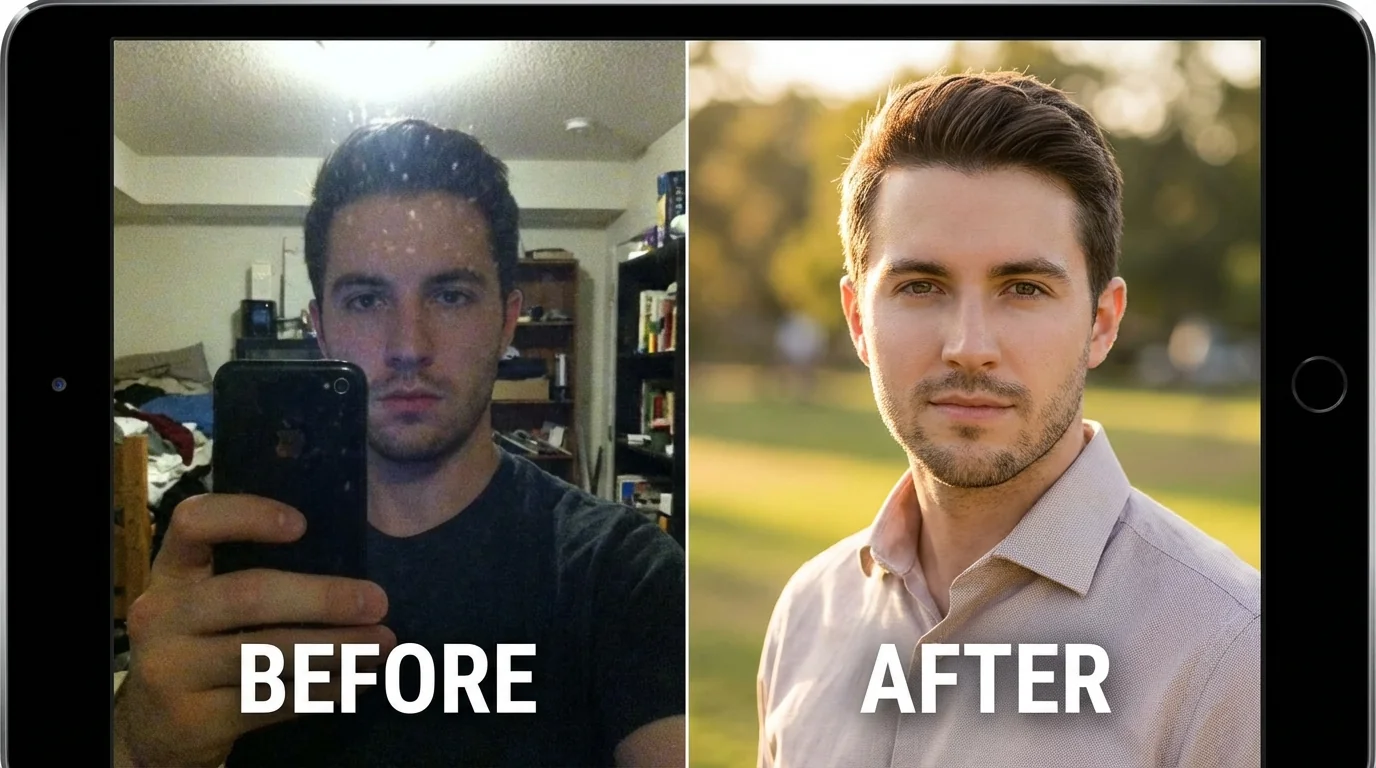
Analyze Your Photos Free →Before/After: Proven Editing Strategies
Let's get practical. Here are the exact editing strategies that consistently improve AI dating photos, with before/after explanations showing what changed and why it worked.
Strategy 1: Natural Light Enhancement
The Problem: AI generators often produce flat, even lighting that looks artificially perfect. Real photos have dimension – shadows, highlights, and natural light direction.
The Fix:
- Add subtle shadows under chin and around nose (5-10% opacity)
- Create gentle highlights on cheekbones and forehead
- Warm up skin tones slightly (2-3% toward yellow/red)
- Increase contrast in eyes by 15-20%
Before Impact: Photo looks computer-generated, lacking depth
After Impact: Photo gains dimensionality, appears naturally lit
Realness Score Change: Typically +8 to +12 points
Strategy 2: Background Context Addition
The Problem: Generic or perfectly blurred backgrounds signal AI generation. Real environments have texture and imperfection.
The Fix:
- Add subtle grain or texture to smooth backgrounds (2-3% opacity)
- Introduce minor "imperfections" – slight blur variations, natural shadows
- If the background is too perfect, add realistic elements (trees, buildings, people)
- Ensure background lighting matches subject lighting direction
Before Impact: Background looks fake or overly processed
After Impact: Setting appears believable and contextual
Realness Score Change: +5 to +10 points
Strategy 3: Micro-Detail Recovery
The Problem: AI sometimes smooths away natural skin texture, hair detail, and fabric patterns – making everything look plastic.
The Fix:
- Add back subtle skin texture using overlay layers (very light)
- Enhance hair strand definition without over-sharpening
- Restore fabric weave patterns in clothing
- Bring back pore detail in close-up areas (forehead, nose)
Before Impact: Skin looks airbrushed, clothing appears flat
After Impact: Textures look real, photo gains authenticity
Realness Score Change: +10 to +15 points
Strategy 4: Color Grading for Realism
The Problem: AI photos often have perfectly balanced colors that don't exist in real photography. Film and digital cameras have color biases.
The Fix:
- Introduce slight color casts that match lighting scenarios (golden hour = warm, overcast = cool)
- Desaturate colors by 5-8% to avoid the "too perfect" look
- Add complementary color relationships (warm subject, cool background or vice versa)
- Match color profiles to popular smartphone camera outputs (iPhone tends toward cooler tones)
Before Impact: Colors look artificially perfect
After Impact: Photo has authentic camera-like color rendering
Realness Score Change: +6 to +10 points
Strategy 5: Edge and Composition Refinement
The Problem: AI generation sometimes creates soft, unclear boundaries between subject and background, or crops awkwardly.
The Fix:
- Sharpen edges between you and background (subtle, 10-15%)
- Adjust cropping to follow rule of thirds or golden ratio
- Add subtle vignette to draw eye toward center (5-8% opacity)
- Remove any weird cutoffs or edge artifacts
Before Impact: Photo composition feels off or unprofessional
After Impact: Image looks professionally composed and intentional
Realness Score Change: +4 to +8 points
Across all strategies: less is more. Each adjustment should be barely noticeable on its own but combine to create significant overall improvement. If someone could point to a specific edit and say "that's edited," you've gone too far.
Common AI Photo Editing Mistakes to Avoid
Even with good intentions, certain editing approaches consistently backfire on dating apps. Here's what trips people up – and how to avoid these traps.
Mistake 1: Over-Smoothing Skin
What People Do: Apply heavy skin smoothing or beauty filters to make complexion look flawless.
Why It Fails: Human skin has pores, texture, and variation. Over-smoothed skin is the #1 giveaway of heavy editing.
The Fix: If you must smooth skin, use frequency separation and preserve texture. Better yet, embrace natural skin – it reads as more authentic and trustworthy.
Mistake 2: Unrealistic Teeth Whitening
What People Do: Whiten teeth to pure white or add unnatural brightness.
Why It Fails: Natural teeth have slight color variation and translucency. Pure white teeth look fake and can create an uncanny valley effect.
The Fix: If whitening, aim for natural ivory tones (not pure white). Keep some variation between teeth. Maximum 10-15% brightness increase.
Mistake 3: Inconsistent Lighting Direction
What People Do: Add highlights or shadows without considering the original light source.
Why It Fails: Photos have internal logic. If light hits face from left but the background shadow falls left, detection systems notice.
The Fix: Always identify the original light direction before adding any lighting effects. Shadows and highlights must be consistent throughout the entire image.
Mistake 4: Selective Focus That Makes No Sense
What People Do: Blur background heavily to "look professional" but keep everything about subject perfectly sharp.
Why It Fails: Real camera blur (bokeh) follows optical laws. Nearby objects blur less, distant objects blur more – with a gradual transition.
The Fix: If adding blur, create depth-appropriate blur levels. Shoulders blur slightly more than face, background blurs progressively with distance.
Mistake 5: Color Grading That Doesn't Match Environment
What People Do: Apply trendy filters or presets without considering scene context.
Why It Fails: Beach photos should have different color profiles than coffee shop photos. Indoor and outdoor lighting have distinct characteristics.
The Fix: Match color grading to location. Outdoor = cooler tones, indoor warm lighting = warmer tones. Look at how real photos from similar settings actually look.
Mistake 6: Forgetting About Metadata
What People Do: Edit photos heavily but don't consider that editing software adds metadata flags.
Why It Fails: Many editing programs add EXIF data indicating heavy modification. Dating apps can read this metadata.
The Fix: After editing, strip EXIF data or use tools that don't add editing flags. Export as "save for web" to minimize metadata footprint.
Mistake 7: Editing Beyond Your Original Features
What People Do: Change facial structure, body proportions, or distinctive features significantly.
Why It Fails: Two reasons – detection systems catch this immediately, and you're setting false expectations for real-life meetings.
The Fix: Edit to enhance, never to transform. If your edited photo doesn't look recognizably like you, start over.
Remember: dating apps invest millions in AI detection technology. If an edit seems too good to be true, it probably won't pass their systems. When in doubt, check your edits with the Realness Score Analyzer before uploading to dating platforms.
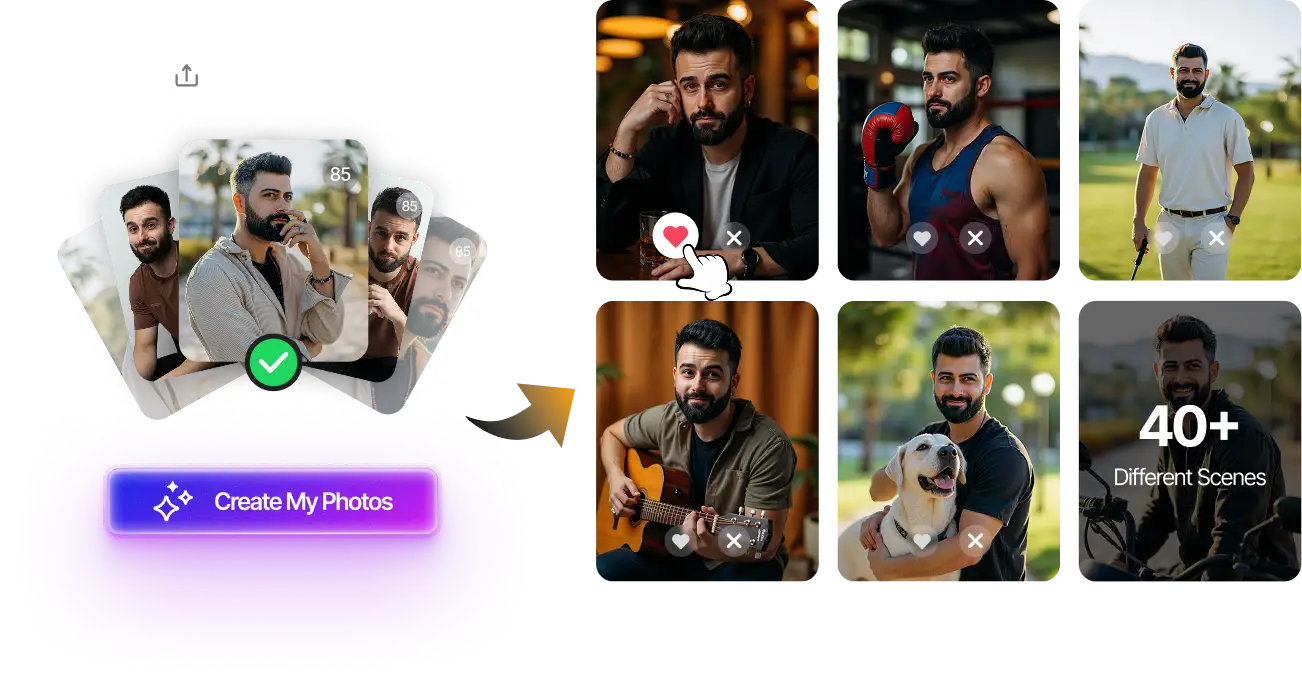
Get Photos That Don't Need Heavy Editing
Start with high-quality AI photos that need minimal retouching. Our advanced generation technology produces natural-looking results from your selfies.
100+ unique photos • Privacy-first • One-time payment
Generate Better Photos →Step-by-Step: The Safe AI Photo Editing Process
Follow this systematic approach to enhance AI dating photos while maintaining authenticity and passing detection systems.
Step 1: Assess the Starting Point (5 minutes)
Before editing anything, evaluate what you're working with:
- Run initial Realness Score check – Baseline measurement of photo quality
- Identify specific issues – List 2-3 concrete problems ("lighting too flat," "background too perfect," "colors oversaturated")
- Determine if editing is worth it – If the base score is below 60, consider regenerating instead of editing
- Set a target outcome – What specific improvement are you aiming for?
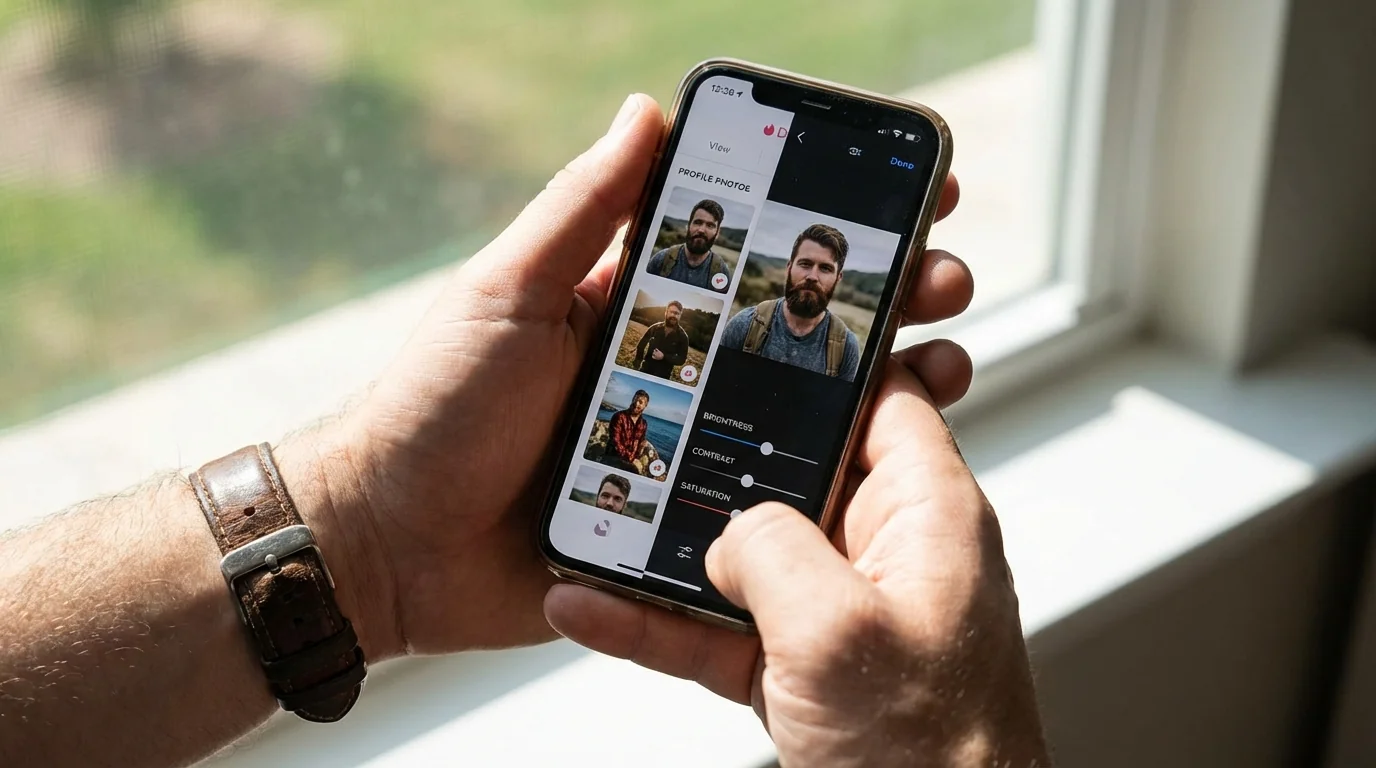
Step 2: Make Non-Destructive Edits (10-15 minutes)
Use adjustment layers so you can dial back if needed:
- Color and exposure adjustment – Fix lighting first, as this affects all subsequent edits
- Adjust exposure: +/- 0.2 stops maximum
- Tweak highlights and shadows: 5-15% adjustments
- Refine white balance: Small shifts toward warm or cool
- Selective brightness and contrast – Draw attention to your face naturally
- Brighten face slightly: +5-10% brightness
- Add contrast to eyes: +10-15%
- Darken edges subtly: 5% vignette
- Color grading – Add realism through authentic color relationships
- Introduce slight color cast matching environment
- Desaturate overall by 5-8%
- Add color harmony (warm/cool balance)
Step 3: Detail Work (10 minutes)
Refine specific areas that need attention:
- Skin texture restoration – If AI over-smoothed
- Add texture overlay at 10-15% opacity
- Focus on forehead, nose, cheeks
- Avoid adding texture to shadows
- Background refinement – Make setting more believable
- Add grain or noise: 2-3% opacity
- Adjust blur consistency
- Remove obvious AI artifacts
- Edge definition – Separate subject from background
- Subtle edge sharpening: 10-20%
- Clean up any halos or artifacts
- Ensure transitions look natural
Step 4: The Critical Review (5 minutes)
Before saving, run these checks:
- Zoom out to thumbnail size – How does it look small? This is how people see it first
- Compare to similar real photos – Pull up actual dating app profiles. Does yours fit in?
- Check lighting consistency – Do all shadows and highlights make sense together?
- Verify it still looks like you – Could someone recognize you from this photo in person?
- Look for editing tells – Halos, unnatural smoothness, impossible lighting
Step 5: Export and Test (5 minutes)
Final technical steps before upload:
- Export at appropriate quality
- JPEG quality: 85-92 (not 100, that's suspicious)
- Size: 1080-2048px on longest edge
- sRGB color space for web display
- Strip metadata – Remove editing software fingerprints
- Run final Realness Score check – Confirm edits improved or maintained score
- Compare before/after – Is improvement worth any score decrease?
Step 6: Platform-Specific Optimization (Optional, 5 minutes)
Tailor the final version for each dating app:
- Tinder: Slightly higher contrast, mobile-optimized crop
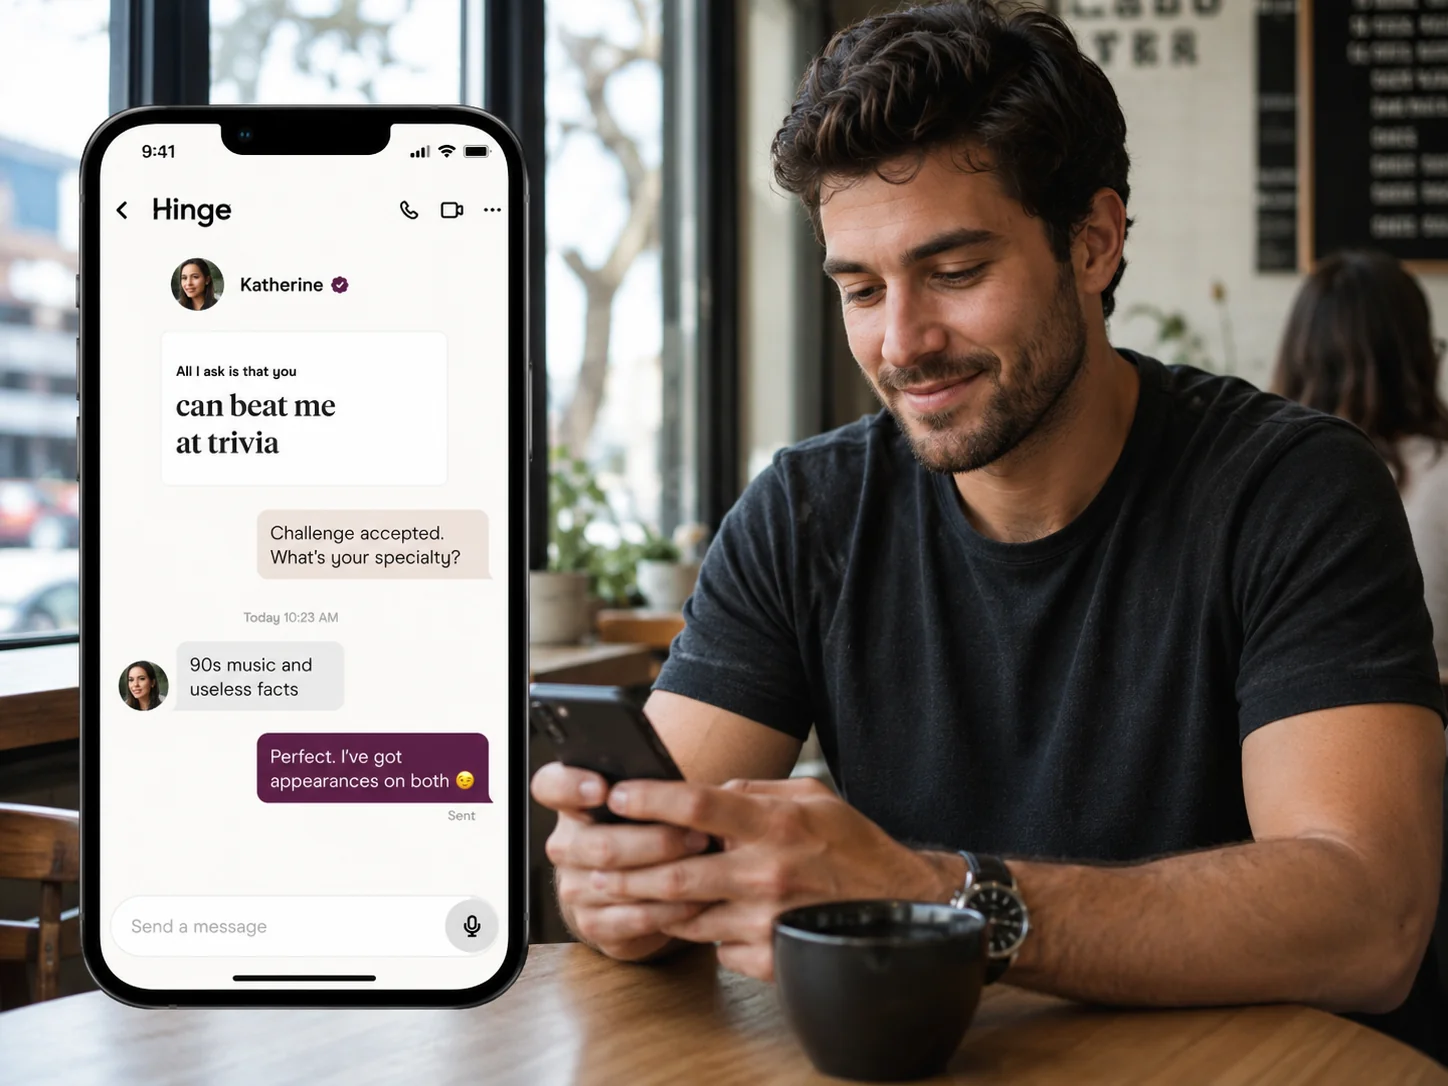
- Hinge: Natural colors, context-rich backgrounds
- Bumble: Warm tones, approachable expressions
Total time investment: 40-45 minutes for professional results. If you're spending more than an hour on one photo, you're either being a perfectionist (diminishing returns) or working with a photo that should be regenerated.
Pro tip: Edit 3-4 photos in one session using the same adjustment approach. This creates visual consistency across your profile while being more efficient than editing each photo separately.
Best Tools for AI Dating Photo Editing
The right tools make the editing process faster and more effective. Here's what actually works for dating photo enhancement, from free options to professional solutions.
Free Tools (Good for Basic Adjustments)
GIMP – Free Photoshop alternative
Best for: Color correction, basic retouching, layer-based editing
Limitations: Steeper learning curve, clunkier interface
Recommended use: If you have time to learn and want full control without cost
Photopea – Browser-based editing
Best for: Quick adjustments without software installation
Limitations: Limited advanced features, slower for complex edits
Recommended use: Minor touch-ups, color adjustments, cropping
Snapseed (Mobile) – Google's mobile editor
Best for: On-the-go editing, selective adjustments, filters
Limitations: Mobile interface limits precision
Recommended use: Quick fixes before upload, color grading
Paid Tools (Professional Results)
Adobe Lightroom ($10/month)
Best for: Batch editing, color grading, non-destructive workflow
Features: Presets, local adjustments, mobile sync
Recommended use: Editing multiple AI photos with consistent style
Adobe Photoshop ($20/month bundled)
Best for: Advanced retouching, detailed work, precise control
Features: Frequency separation, content-aware fill, layer masks
Recommended use: When you need surgical precision on specific areas
Luminar Neo ($60-100 one-time)
Best for: AI-powered adjustments, user-friendly interface
Features: AI skin enhancement, portrait tools, background replacement
Recommended use: Balance between power and ease of use
Specialized AI Enhancement Tools (Use Carefully)
Remini – AI upscaling and enhancement
Potential use: Resolution improvement
Warning: Can create artificial details; verify Realness Score after use
Facetune – Portrait-focused mobile editing
Potential use: Minor facial adjustments
Warning: Very easy to over-edit; use minimal settings only
Tool Selection Strategy
If you're editing 1-3 photos: Use Photopea (free, browser-based)
If you're editing 5+ photos: Invest in Lightroom (batch processing saves time)
If you're not tech-savvy: Try Luminar Neo (powerful but approachable)
If you're on mobile only: Use Snapseed (best mobile option)
Regardless of tool choice, remember: the tool doesn't determine success – your restraint does. The fanciest software won't help if you apply edits too heavily. Focus on subtle, believable improvements rather than dramatic transformations.
For those serious about optimization, check out our guide on how to improve your Realness Score from 60 to 90+ for advanced strategies that go beyond basic editing.
How to Measure AI Photo Editing Success
Editing without measuring results is shooting in the dark. Here's how to objectively evaluate whether your photo enhancements are working.
Before/After Metrics That Matter
1. Realness Score Comparison
Your primary success indicator. Run scores before and after editing:
- Goal: Maintain or improve score (minimum: no decrease)
- Acceptable: -3 points if visual improvement is significant
- Red flag: -5 points or more means over-editing
- Ideal outcome: +5 to +15 point improvement
2. Visual Consistency Check
Place edited photo next to real dating app profiles:
- Does it look native to the platform?
- Does editing level match or exceed typical photos?
- Can you spot obvious "this was edited" tells?
3. Thumbnail Test
View photo at actual display size (small thumbnail):
- Does editing improve thumbnail appeal?
- Are edited elements visible at small size?
- Does face still pop at thumbnail scale?
4. Time Investment vs. Improvement
Be honest about diminishing returns:
- First 15 minutes: Usually highest impact
- 15-30 minutes: Refinement phase, worthwhile
- 30+ minutes: Diminishing returns, possibly over-thinking
Real-World Performance Metrics (After Upload)
Track these over 7-14 days after using edited photos:
Leading Indicators (1-3 days):
- Profile views: Increase = photo passes algorithm
- Time to first match: Faster = more appealing photos
- Initial response rate: Higher = photos set good expectations
Lagging Indicators (7-14 days):
- Match rate change: Compare edited vs. previous photos
- Conversation depth: More messages = realistic representation
- Meeting conversion: Date requests indicate authenticity
A/B Testing Framework
If you're data-driven, test scientifically:
- Baseline week: Use unedited AI photos, record metrics
- Test week 1: Use lightly edited versions (strategy 1-2 from earlier)
- Test week 2: Use more comprehensive edits (strategy 1-5)
- Compare: Which approach improved metrics most?
Comparison points:
- Matches per 100 profile views
- Average messages before meeting request
- Profile report/flag rate (lower = more authentic)
Warning Signs Your Edits Failed
If you see these patterns, editing was counterproductive:
- Decreased match rate despite same activity level
- More unmatches after conversation starts
- "You don't look like your photos" feedback on dates
- Increased time between matches
- Profile warnings or removal from dating apps
When warning signs appear: revert to less-edited versions or completely unedited AI photos. Sometimes less truly is more.
Success Story: The 60/80/90 Rule
One user's systematic approach to measuring success:
- Unedited AI photos: 60 Realness Score, 12 matches/week
- Light editing (strategies 1-3): 80 Realness Score, 23 matches/week
- Comprehensive editing (all strategies): 90 Realness Score, 31 matches/week
The sweet spot? Medium-comprehensive editing with Realness Scores in the 85-92 range consistently outperformed both extremes.
For more insights on achieving optimal scores, see our technical breakdown of how we achieve 85+ Realness Score.
Final Thoughts
AI photo editing for dating apps isn't about transformation – it's about strategic enhancement that preserves authenticity while maximizing appeal. The most successful approach combines quality AI generation with minimal, thoughtful editing that makes photos look good without triggering detection systems.
The core principles: start with high-quality AI photos, make subtle adjustments that match real-world photography, and always verify your Realness Score before uploading. The difference between photos that work and those that fail often comes down to restraint – knowing when to stop editing is just as important as knowing what to edit.
Whether you're fixing minor AI generation quirks or polishing already-decent photos, smart editing gives you a real edge on dating apps. Keep it natural. Keep it real.
Ready to start with better raw material? Try our AI Dating Photo Generator to create high-quality photos that need minimal editing – or test your current photos with the free Realness Score Analyzer to see where you stand.
Transform Your Dating Profile Today
Upload your selfies, get 80-180 AI-optimized dating photos in just 20 minutes. No photoshoot needed.
100+ unique photos • Privacy-first • One-time payment
Get Started Now →Frequently Asked Questions
Should I edit dating app photos with AI?
Yes, but only lightly. AI photo editing is useful for cropping, lighting, color balance, background cleanup, and small realism fixes. It becomes risky when it changes your identity or makes the image look overly perfect.
What edits make dating photos look fake?
The biggest fake-looking edits are plastic skin, unnaturally white teeth, changed facial structure, impossible shadows, over-sharpened eyes, and backgrounds that do not match the lighting on your face.
Can dating apps detect edited photos?
Dating apps do not disclose every review signal, but heavily edited photos can trigger trust issues through visual artifacts, user reports, metadata, or verification mismatch. The safer goal is realism, not perfection.
What is the safest AI photo edit for dating apps?
The safest edits are exposure correction, natural color balance, light background cleanup, and cropping. These improve readability without changing who you are.
Should I edit AI-generated dating photos?
Only if the edit improves realism. If the AI-generated photo already has weak hands, warped backgrounds, or inconsistent face details, editing may not fix the root problem. Generate a better image instead.
How do I know if my edited photo is safe to upload?
Use a visual check first, then run a Realness Score test. If the edited photo looks less like you, has unrealistic texture, or scores worse than the original, do not upload it.