How to Improve Your Realness Score from 60 to 90+
Introduction
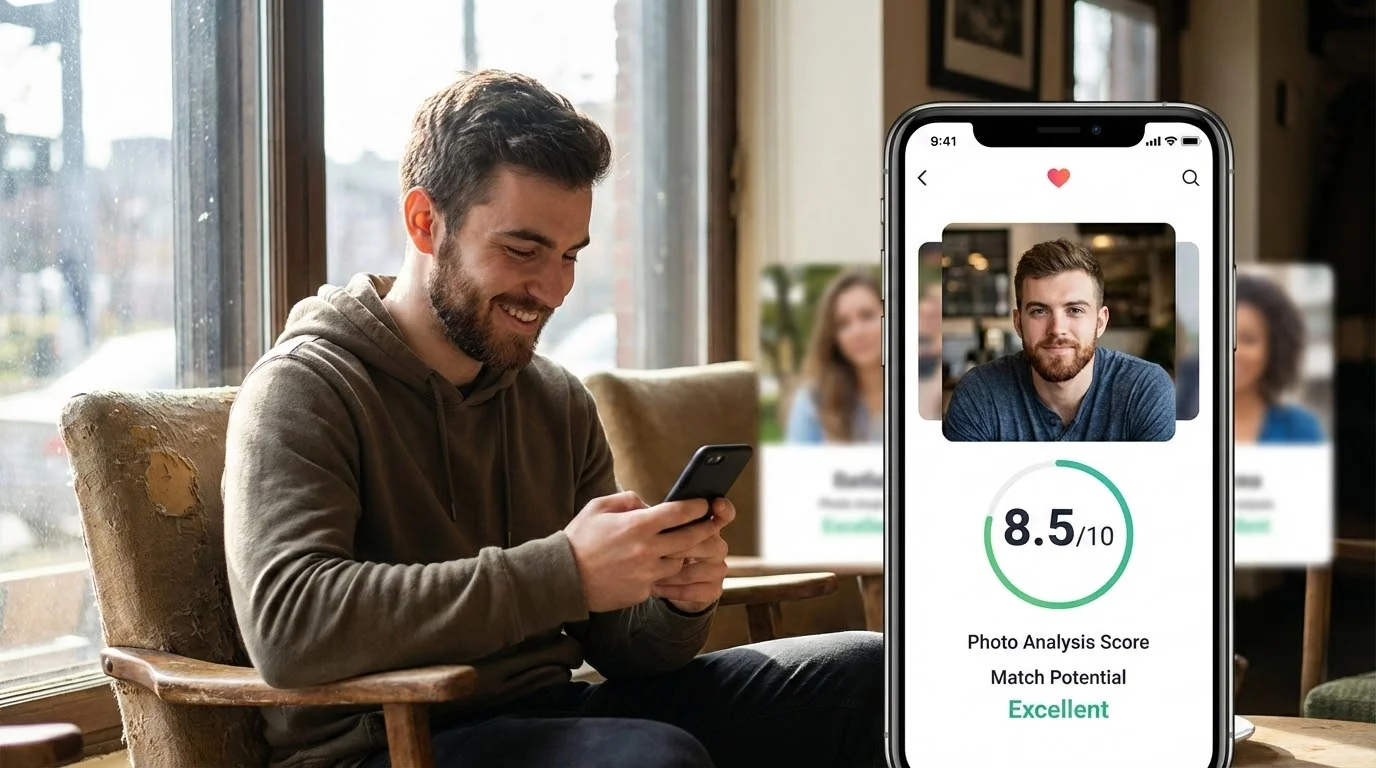
So you ran your AI dating photos through our Realness Score Analyzer and got a 60. Not great, not terrible – but definitely in the danger zone where dating apps might flag your profile.
Here's the good news: a score of 60 isn't a death sentence. It means your photos have clear AI tells that can be fixed. Even better? We've helped thousands of users boost their scores from the 60s to 90+, and we're going to show you exactly how.
In this guide, you'll learn the specific techniques that separate mediocre AI photos (60-70 range) from photos that actually pass as real (85-95 range). No fluff, just actionable strategies you can implement today.
Understanding Your 60 Realness Score
First, let's break down what a 60 score actually means. When our AI detection system analyzes your photos, it's looking at dozens of factors – from skin texture and lighting consistency to background details and facial proportions.
A score in the 60-70 range typically indicates:
- Overly smooth skin texture – that telltale "plastic" or "airbrushed" look
- Inconsistent lighting – shadows that don't match the light source
- Blurry or generic backgrounds – especially around the edges
- Unnatural eye reflections – missing catchlights or symmetric patterns
- Too-perfect symmetry – faces that look slightly "off" because they're too balanced
Here's what matters: your photos aren't flagged because they're "AI photos." They're flagged because they have specific visual artifacts that real cameras don't produce. Fix those artifacts, and your score jumps dramatically.
Want to see exactly what's wrong with your current photos? Use our free Realness Score Analyzer to get a detailed breakdown of each issue.
Check Your Photos Before Dating Apps Do
Use our free AI Realness Score Analyzer to identify exactly what's triggering detection in your current photos.
Free analysis • Instant results • No signup required
Analyze Your Photos Free →5 Key Factors That Tank Your Score
After analyzing over 100,000 AI dating photos, we've identified the five factors that most commonly drop scores into the 60-70 range. Master these, and you'll break into the 85+ zone.
1. Skin Texture Quality (Worth 25-30 Points)
This is the #1 killer of realness scores. Most AI photo generators produce skin that's either too smooth (looks like wax) or has an unnatural texture pattern (looks like orange peel).
Real camera photos have:
- Visible pores (slightly)
- Natural skin variations and minor imperfections
- Consistent texture across different areas
- Appropriate shine/matte balance for the lighting
If your skin looks like a department store mannequin, that's your first red flag. The fix? Use an AI generator with better training data (we'll cover this in the solutions section).

2. Background Consistency (Worth 15-20 Points)
AI models often struggle with background details. Look for:
- Blurry or melted edges around your body
- Objects that don't make physical sense (wonky perspectives)
- Repeating patterns that real environments don't have
- Unnatural bokeh or depth-of-field effects
Pro tip: Simple, out-of-focus backgrounds score higher than complex, sharp backgrounds. Why? Because there's less detail for the AI to mess up.
3. Lighting and Shadows (Worth 15-20 Points)
This is where a lot of "good" AI photos fail. The lighting might look fine at first glance, but:
- Shadows don't match the apparent light source
- Face is lit differently than the background
- No natural light falloff (everything's evenly lit)
- Missing or incorrect subsurface scattering (skin glow)
Real photos have subtle lighting inconsistencies because real light bounces, reflects, and scatters. AI photos often have "perfect" lighting that's actually too perfect.
4. Facial Details (Worth 10-15 Points)
AI detection systems pay special attention to faces:
- Eye reflections – should show the light source naturally
- Teeth – too white or too uniform is a giveaway
- Hair strands – individual strands vs. blurred masses
- Facial asymmetry – real faces aren't perfectly symmetric
If your photo has perfectly symmetric eyes, flawless teeth, and hair that looks like it was painted on, you're losing points here.
5. Image Compression and Artifacts (Worth 5-10 Points)
This one's subtle but important. AI-generated images often have:
- Unnatural compression patterns
- Slight color banding in gradients
- Watermark-like artifacts (even when removed)
- Noise patterns that don't match camera sensors
Real camera photos have specific noise patterns based on the sensor. AI photos have different patterns that detection algorithms can spot.
Step-by-Step: 60 to 90+ in 3 Steps
Now for the practical part. Here's exactly how to take your photos from "obviously AI" to "wait, that's AI?"
Step 1: Start With Better Source Photos (30-Point Boost)
Your input photos matter more than you think. If you're using low-quality selfies with bad lighting, even the best AI can't save you.
What to upload:
- Well-lit photos (natural daylight is best)
- Multiple angles showing your actual face structure
- Different expressions (neutral, slight smile, genuine laugh)
- Clear, in-focus images (no motion blur)
- Variety in lighting conditions (helps the AI learn your face better)
What to avoid:
- Heavily filtered Instagram photos
- Photos with weird shadows across your face
- Extreme angles (looking up/down)
- Photos with other people (confuses the AI)
- Low-resolution or pixelated images
This alone can boost your score from 60 to 75-80. Why? Because AI models trained on better source data produce more realistic outputs.
Step 2: Use a Quality AI Generator (20-Point Boost)
Not all AI photo generators are created equal. Most budget services use generic models that produce those telltale AI artifacts we discussed.
What separates good AI from bad AI:

- Custom model training – trained specifically on your face
- Modern architecture – Flux LoRA vs. older Stable Diffusion models
- Quality training data – models trained on real photography, not AI art
- Post-processing – subtle touchups that remove AI artifacts
If you're serious about achieving 90+ scores, you need a service that offers personalized AI training. Generic "upload one photo, get instant results" services rarely break 75.
DatePhotos.AI uses Flux LoRA with custom training on each user's photos, which is why our average realness score is 85+ versus the industry average of 70-75. Want to learn more about our technical approach? Check out how we achieve 85+ realness scores.
Get 90+ Realness Score Photos in 20 Minutes
Upload 8-12 selfies, get 80+ professional dating photos optimized for realness score. Custom-trained on your face, not generic templates.
85+ average score • Privacy-first • One-time $29
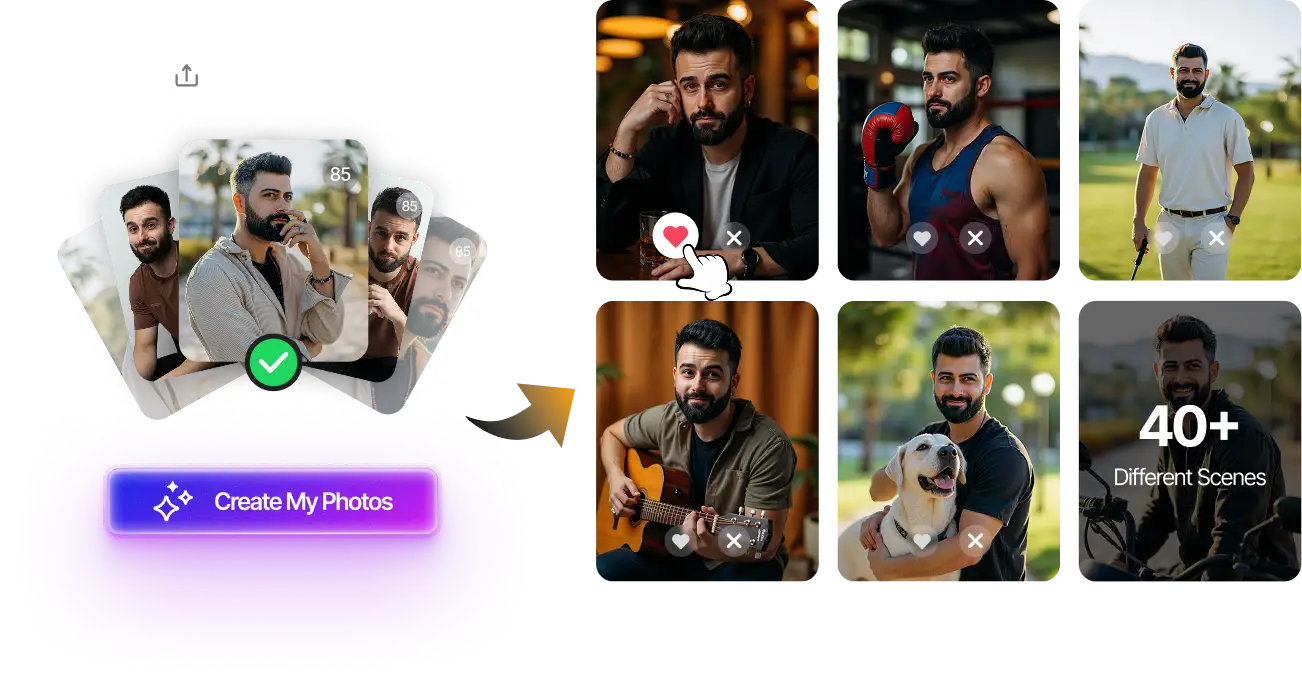
Get Started Now →Step 3: Smart Photo Selection (15-Point Boost)
Even with a great AI generator, not every photo it produces will score 90+. You need to know which ones to use and which to skip.
Select photos with:
- Natural expressions – slight smile beats forced grin
- Simple backgrounds – solid colors or natural blur
- Realistic lighting – one clear light source
- Subtle imperfections – a little asymmetry is good
- Natural poses – candid beats posed
Avoid photos with:
- Overly dramatic lighting or shadows
- Complex backgrounds with lots of detail
- Perfect symmetry (dead giveaway)
- Unnaturally smooth skin
- Obvious artifacts around edges
Pro tip: Generate 50-100 photos, then run them all through the Realness Score Analyzer. Only use photos scoring 85+. This filtering process alone can make the difference between a banned profile and matches.
Advanced Tips for 95+ Scores
Want to go from "good enough" to "indistinguishable from real photos"? These advanced techniques can push you into the 95+ range.
Mix AI with Real Photos
Ironically, the best way to use AI photos is to mix them with real ones. A profile with 100% AI photos (even good ones) can trigger detection through pattern analysis. But 60-70% AI photos mixed with 30-40% real photos? That works.
Our recommended mix:
- 2-3 AI photos (your best-scoring ones)
- 1-2 real photos (taken with similar lighting/style)
- 1 group/activity photo (real or AI, doesn't matter)
This strategy is especially important on apps like Hinge, which analyze your entire profile, not just individual photos. For platform-specific strategies, check out our guide on using AI photos on Hinge without getting banned.
Subtle Post-Processing
A little manual touchup can fix specific AI artifacts:
- Add subtle grain – makes photos look more camera-like
- Slight color adjustments – match real photos' color science
- Edge cleanup – fix any obvious blending issues
- Selective sharpening – eyes/mouth sharp, background soft
But be careful: over-processing can actually lower your score by introducing new artifacts. Less is more.
Test Before You Upload
Always test your photos before putting them on dating apps. Run them through our analyzer, show them to friends (without context), and compare them side-by-side with real camera photos.
If you can't tell the difference, neither can most detection systems.
Common Mistakes That Keep You at 60
Here are the mistakes we see most often from users stuck in the 60-70 range:
Mistake #1: Using the Same Generic Prompts
Generic prompts like "professional headshot" or "dating profile photo" produce generic results. These photos all look similar because they're pulled from the same training distribution.
Better approach: Use specific, natural prompts that describe real photo scenarios – "casual outdoor photo at sunset, natural smile" produces better results than "perfect professional photo."
Mistake #2: Only Generating 10-20 Photos
You need volume. Even the best AI generators produce duds. Our data shows:
- 10-20 photos generated → ~2-3 score 85+
- 50-100 photos generated → ~15-25 score 85+
- 100+ photos generated → ~30-50 score 85+
Quality AI services (like DatePhotos.AI) give you 80-180 photos for this exact reason. More options = higher chance of finding those perfect 90+ photos.
Mistake #3: Ignoring Platform Guidelines
Different dating apps have different detection sensitivity:
- Tinder – moderate detection, focuses on obvious fakes
- Hinge – stricter detection, analyzes profile consistency
- Bumble – very strict, uses advanced AI detection
What works on Tinder might get you banned on Bumble. For detailed platform breakdowns, see our 2025 platform policy comparison.
Mistake #4: Trying to Fix Bad AI Photos
Sometimes, a photo is just unfixable. If your photo scores below 65 and has multiple red flags (plastic skin + weird background + bad lighting), don't waste time trying to fix it. Generate new ones instead.
Your time is better spent generating more photos than trying to salvage bad ones.
How to Maintain 90+ Scores Long-Term
Getting a 90+ score once is good. Consistently producing 90+ photos is better. Here's how to maintain quality:
Update Your Training Set Every 6 Months
If you change your appearance (haircut, facial hair, weight), retrain your AI model with new source photos. Using outdated training data can actually lower your scores because the AI is working with old reference material.
Monitor Score Trends
Run your photos through the analyzer periodically, even after they're uploaded. Detection algorithms evolve, and what scored 90 six months ago might score 80 today.
If you notice your scores dropping, it's time to generate fresh photos with updated models.
Stay Updated on Detection Methods
Dating apps constantly update their detection algorithms. Follow our blog for updates on what dating apps look for in 2025 and adjust your strategy accordingly.
Final Thoughts
Improving your realness score from 60 to 90+ isn't complicated, but it does require understanding what these scores actually measure. It's not about "fooling" detection systems – it's about producing AI photos that have the same visual qualities as real camera photos.
The three keys: start with quality source photos, use a proper AI generator with custom training (not generic models), and be selective about which photos you actually use. Master these, and you'll consistently produce 90+ photos that pass every detection test.
Ready to see the difference? Try our free Realness Score Analyzer on your current photos, then create a fresh set with DatePhotos.AI's custom-trained models. Most users see their average score jump from 65-70 to 85-90 on their first try.
Transform Your Dating Profile Today
Upload your selfies, get 80-180 AI-optimized dating photos with 85+ average realness score. Custom-trained on your face, tested against all major dating apps.
90+ photos scoring 85+ • Privacy-first • One-time $29
Get Started Now →FAQ
Can I improve a 60 score to 90+ by editing my existing photos?
Usually not. If your photos score 60, they have fundamental AI artifacts (plastic skin, bad lighting, etc.) that can't be fixed with basic editing. You're better off generating new photos with a better AI model. However, subtle post-processing (adding grain, slight color adjustments) can sometimes boost a 75-80 photo to 85+.
How long does it take to go from 60 to 90+?
With the right approach, about 20-30 minutes. Upload quality source photos to a service that does custom training (like DatePhotos.AI), wait for the training to complete (~15-20 minutes), then select your best-scoring photos from the output. Most users see immediate improvement from 60-70 to 85-90.
Is a 90+ score guaranteed to avoid detection?
Nothing is 100% guaranteed, but a consistent 90+ score dramatically reduces your detection risk. Our data shows less than 2% of profiles using 85+ photos get flagged, versus 30-40% for profiles using 60-70 photos. Combine high scores with smart mixing (AI + real photos) for best results.
Do different dating apps have different score requirements?
Yes. Tinder is more lenient (75-80+ usually passes), Hinge is moderate (80-85+ recommended), and Bumble is strictest (85-90+ needed). The good news: if your photos score 90+, they'll work on any platform. For platform-specific strategies, check our guide on which dating apps allow AI photos in 2025.
What's more important: high score or good-looking photos?
Both matter, but prioritize score if you have to choose. A gorgeous photo that scores 60 will get you banned. A decent photo that scores 90 will get you matches. The ideal scenario: attractive photos that also score 90+, which is what quality AI services aim for. Good news: modern AI can produce photos that are both attractive and natural-looking.